Wednesday, August 01, 2012

Challenge Quilt


Here is my fourth Reunion Quilt Challenge quilt!  

Each reunion the group of quilters chooses a fabric to make something out of.  Everyone who wants to participate takes a piece and brings back their project in two years at the next reunion.  You can see the first three challenge pieces here: Itty-Bitty, Herb Garden, and Pink Flags.

The challenge fabric is here, second from the left, with it's optional companion fabric on the left end.  The other fabrics are ones I chose at the same shop to use with it. 
(click for a larger view of any image)

I chose a pattern that was designed for a wall hanging to a full size quilt and then adapted the size and color scheme to make a miniature.  The finished project is 16"x20" and machine-pieced and machine-quilted.  

I had a hard time figuring out how to quilt it (once again, my mom was soooo kind to take out my false starts and mistakes to minimize the pain of re-doing!).   I have looked at a lot of quilting and I have noticed that when a quilt is very geometric/straight line I tend to like the finished result with the quilting is curvy (rather than straight and following the lines of the quilt).  That's something I plan to keep paying attention to as I see quilts, but I think it holds true.  Once I tried out these wonky spirals inside the squares I loved the result.  And I always like the meandering quilting so I used that to tie together the progression of background colors.

It was REALLY fun to make and I like the finished result best of the quilts I've made!  It's so bright and so wonky and fun that I find it very inspiring!

Come back tomorrow to see everyone else's projects with the same fabric(s)!

Tuesday, July 31, 2012

Family Reunion 2012


The main (or at least instigating) destination of our big road trip was our family reunion in McCormick's Creek State Park outside Indianapolis, Indiana. We spent three days there with about 60 relatives of my husband's father.  It was a really nice time!  We meet at that location because there is a full service hotel in the state park, making it a pretty setting that also has all the conveniences needed for that number of people.  In addition there is a branch of the family that is local to that area who is really generous to have the whole group out for a dinner at their house.  

One fun thing that has been added recently is a family talent show.  This year Zack and his Uncle Bill did the Abbott and Costello routine, "Who's on First" - it was pretty amusing!  They wrapped it up with Sammy singing" Take Me Out to the Ballgame", so there was cute factor too!  

The best thing (well, the quilting part was great too, but I will tell you about that tomorrow!) was that the kids really formed and renewed relationships with their cousins (technically, second cousins once removed, I think).  It was so neat to see the next generation remembering each other and playing together! 

We wrapped the whole thing up with time of singing hymns and a brief candlelight moment in memory of family members.  Quite a lovely and special time - we are looking forward to doing it again in two years!

Monday, July 30, 2012

Ballgame - The Cincinnati Reds vs. the St. Louis Cardinals


Our next stop was Cincinnati for a baseball game.  We really wanted to see a ball game on our trip but the Rangers were out of town and we couldn't get good tickets to see the Cardinals-Cubs game in St. Louis so we decided to make Zack happy and see a Cincinnati game in the Great American Ballpark.  He is, inexplicably, a big Reds fan.  Although we do like both the Reds and the Cardinals, we had to root root root for the home team so we were all Reds fans! 

It was a beautiful night (a bit hot) and a really great game - fast moving (not always the case in baseball!) and very exciting.  The Reds won in the end to sweep the series and we all had a great time!!

Saturday, July 28, 2012

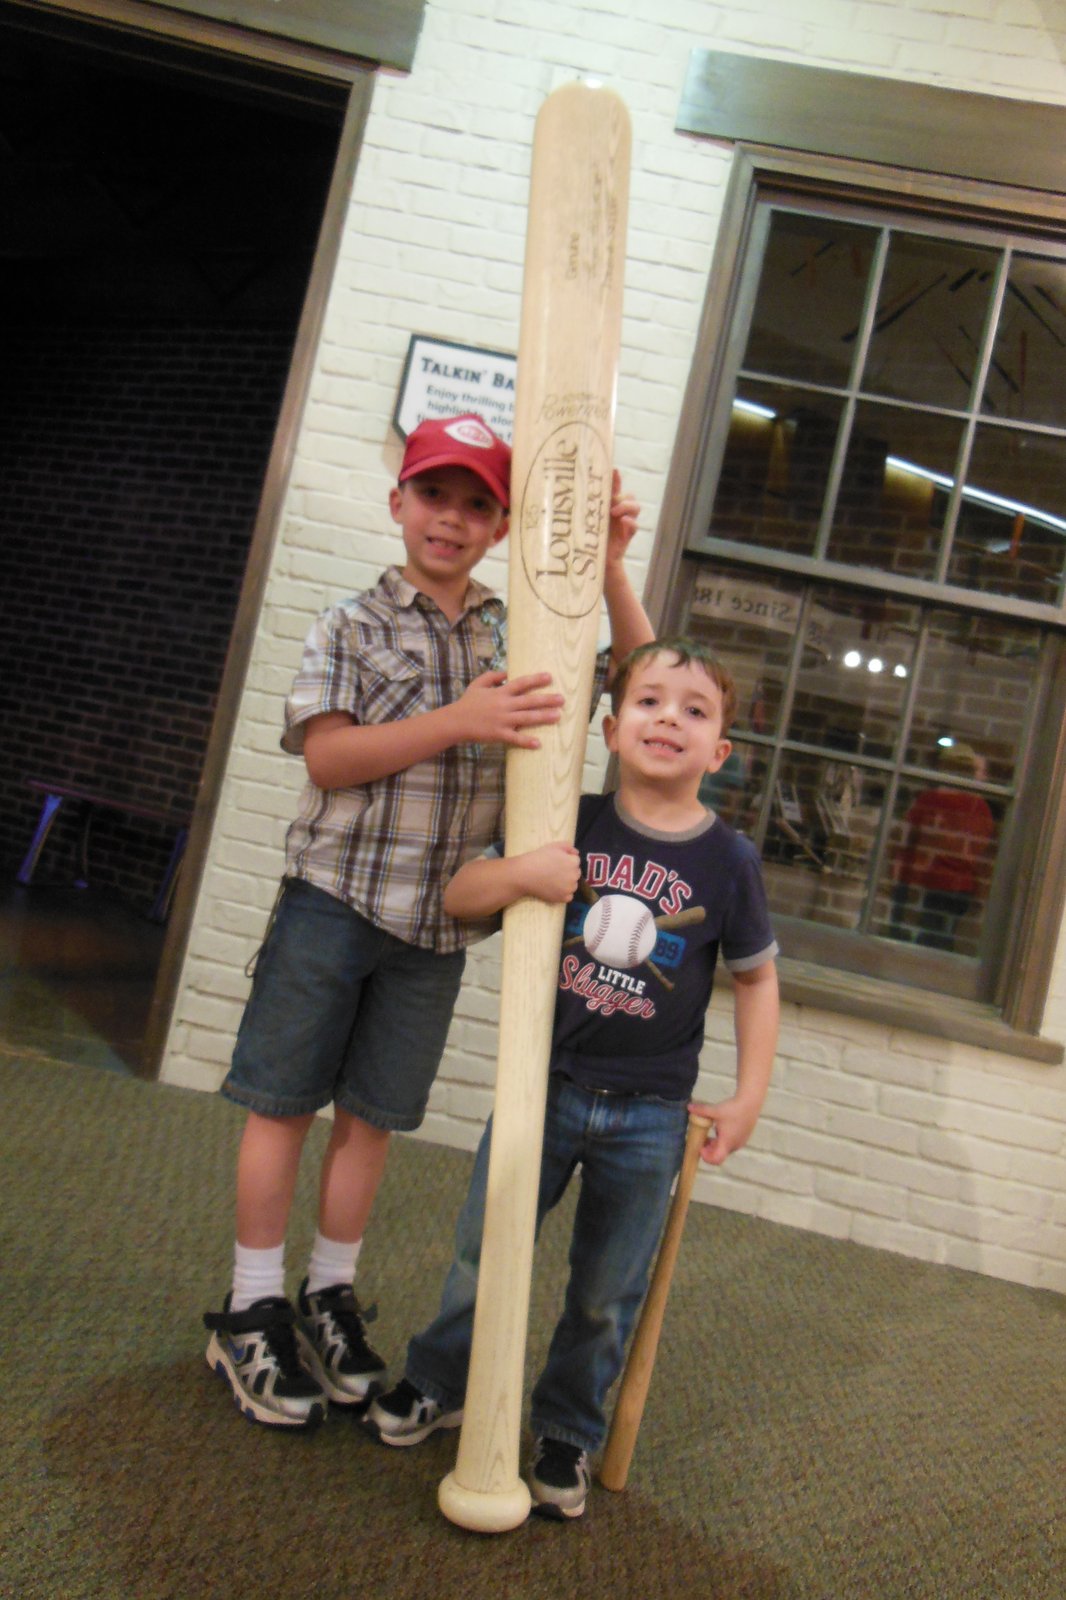
Louisville Slugger Museum and Factory


Since we took a more easterly route this year, we decided to visit Louisville to see the Louisville Slugger Factory and Museum.  This is where they make baseball bats for everyone from Walmart through Major League Baseball.  

As you may remember, the boys are absolutely obsessed with baseball so this was right up our alley.  There is a little movie (included with the tour), you can hold game-used bats from some of the famous players and you can bat at the batting cages ($1).  You can even choose your bat based on the specs of historical and current players.  James and Zack batted in the batting cages and then I had to go bat too.  I was pleased that I actually hit the ball a few times and was not completely embarrassed!    We all liked the Factory Tour where we got to see bats being made for various groups and for individual major leaguers.  I am always interested in factories and even though it is a small operation, they turn out LOTS of bats!  And everyone gets a free mini-bat at the end of the tour - an extremely exciting souvenir for the boys!

One really nice thing is that it is all indoors so it's a good thing to schedule in the heat of the day or do when it's pouring (as it was when we visited). 

Friday, July 27, 2012

Mammoth Cave in Kentucky


Our first adventure was the Historic Tour of Mammoth Cave in Kentucky.  It was a really neat tour, covering 2 miles of tunnels in the cave.  I recommend it if you are ok with that amount of walking!  It was pretty narrow, short and steep in places, but that made for more cave-excitement.  

Our tour guide was really personable and funny and talked about different aspects of the cave formations and the history of the cave and the area as we went through.  The area was beautiful and green.  The air was VERY humid and then became chill as we approached the mouth of the cave.  We were surprised at how cold it was, even though we read about the temperatures on the website!  I had intended to bring sweatshirts for the boys and then had forgotten, but they kept themselves warm enough by being their usual "energetic" (ahem) selves.  

We tried to take pictures but it was really difficult to get good shots (here are some if you want to see more) in the darkness of the cave.  The pathway was lit, but dimly.  There were some very large rooms plus areas we had to scoot sideways through or duck down for quite some length.  At one point they turned off all the lights to show the darkness of the cave, then lit just a kerosene lantern to show what early explorers would have had to see by.  We crossed The Bottomless Pit and heard about how the first explorer of the area crossed on a beam he rested across it, rather than on the steel bridge we had! 

The boys really enjoyed it, though it was a little long for Sammy who said it was "too many walking".  But really, it was fine for him until the very end. If you have the chance, give it half a day or more.  

If you do, one last note - we went to the first tour of the day, buying our tickets online ahead of time to be sure we could go at the time that worked for our schedule.  We were glad we did because the tour sold out, but that was also the downside: it was a HUGE group.  The next tour was much smaller.  We would have preferred a smaller tour because the group had to rush in many places to make up for the backup that would form in the narrow/steep places.  I think a smaller tour would have let us go at a more even pace and see more.

Thursday, July 26, 2012

Back from our Big Summer Roadtrip!

Road Trip Stats:
2675 miles
11 days
11 states
7 hotels
8 museums and attractions
12 quilts
923 pictures


We've been gone on a rather long road trip!  Just as we did two years ago, we went to a family reunion outside Indianapolis, but we also went to Louisville, Cincinnati and St. Louis.  Quite the tour of the midwest!

Check back for several posts about various events and attractions!

Saturday, June 02, 2012

Scrapbook Layout: Remember When

"Remember When..." is all from our wonderful visit at the end of last summer from my sister Julie, her sons, and my mom.  There were lots of fun moments with different combinations of those people - James with the kids, the various pairs of cousins, Julie and I, my mom and Zack... I wanted to include pieces of all that so I printed a three-by-three grid of the little photos.

Do you have a way you love to print smaller photos?  My favorite is to use Picasa (a free program from Google) to make a collage and then print the collage at the photo shop.  There are lots of things I like about Picasa, but that is for another post!  In this case, I chose a "Grid" collage (where all the pictures are the same size), printed the photo as an 8x8" print at the Costco Photo, then cut the images apart to use in the same grid design.   

The layout itself is made from a kit made at Cheryl's fabulous scrapbook layout class!  Her classes are cool because you can leave with a finished layout ready to attach your 4x6 photos, or make all the pieces and then use them as a kit later.  Since I'm always doing something odd or adding tons of photos, the second option is really fun for me. 

Tuesday, May 29, 2012

Paper Art


This is a fun paper art thing I made into a regular 8,5 x 11" frame.  I was inspired by this awesome creation by Leann, who was very nice to help me understand how she made hers!  She says she will soon be having this published so if I figure out where, I will add a reference.

I used paper as a base since I didn't have a canvas.  It is made of 2.25" punched circles, folded into squares and glued on the base sheet.  I measured the middle of the sheet and then marked 45-degree lines so that I could get all the pieces angled correctly and that showed me where to stamp and gold-emboss the decorative bits in the corners. 

Once the circles were glued on I was able to make/find a collection of little embellishments to increase the 3-D-ness of it.  The supplies are primarily Stampin' Up! and Basic Grey (from this prize, actually).  Pretty, pretty.

I like it the finished effect.  Right now I have it in my living room, but I think I may hang it on the wall in the craft area, on the logic that beautiful paper always inspires me!

Monday, May 14, 2012

Scrapbook Layout: Your Smile is the Key to my Heart


Here is a scrapbook layout featuring Sammy and his smile!

I have been wanting to do a layout to focus on Sammy's smile - how engaging it is and what a charmer he can be!  Then I found I was able to use the just-the-face images in Picasa's facial recognition to find all the perfect photos.  It was great because Picasa makes a thumbnail of the face for you to confirm the facial recognition and by selecting those thumbnails and using the collage feature I could print a bunch of small images without having to find, crop and collage the images myself.  It made it soooo much faster!

This beautiful color combination and a lot of the embellishments came from Cheryl's great Scrapbook Class, where I always learn something cool!  Here (on the right) is the design we made in class.  It is designed to have several large photos in a grid pattern but since I had just done some grids and I had a bunch of teeny photos, I had to mix it up.  Which was ok because I like to mix it up anyway! :) 

The original title was "Key to my Heart" but I really wanted the "Smile" aspect so I added some elements from a very old embellishment pack with a matching stamp, epoxy sticker, and chipboard piece.  The journaling is a little letter to Sammy that I wrote and then cut into strips to match the strip-y page design.  I also added some extra hearts to fit the wind-blown design and inserted one extra color (I can't seem to help myself, I almost always find myself adding one extra color after the page is almost done!), the bright pinky-orange (Calypso Coral by Stampin' Up). 
 
And you notice that I couldn't resist the counter-example photos - three little frowny faces by Sammy in the bottom right of the layout.  Those are "so Sammy" too!!

Thursday, March 08, 2012

Handmade Cards: Quilted Stars


A while ago I saw some cards that used this Square Lattice embossing to create a quilted look.  Last week I was looking at the most recent create blog challenge gallery and loved that first card with the triangle-pieced stars.  I couldn't wait to put the two ideas together in these two cards!

I made the triangles by punching squares using a Square Punch and then cutting the squares in half.  The papers were just scraps of patterned paper that hat been languishing (some for years!) in my paper scraps.  The old ones were not particularly loved papers.  Some were kindly handed down to me by a friend moving overseas.  None of them really go together, but the embossing still makes them pretty and ties the whole look together!  

To make the design I arranged my scraps how I wanted them first.  You can see that in one card I arranged the colors randomly and in the other I used yellows in the center, pinks next, then greens on the outside.  I like both looks.  I put adhesive on my background paper in approximately the right spots, then moved my design onto the adhesive.  In some places there wasn't enough adhesive to keep a triangle down and I had to add some liquid glue under one side.  In other places adhesive was showing with nothing glued to in and I had to remove it. 

Side note: Do you have one of these adhesive removal tools?  They are sooo handy!  Just rub the sticky off!  

Then I took the entire design and embossed it through the Big Shot with the Square Lattice Embossing Folder.  This is a 5x7" card so I had to run the white piece through twice to cover the entire surface.  Of course, this folder is such a regular pattern that it was easy to line it up correctly the second time.  One thing I'm still working on is trying not to get a flattened out area just beyond the overlap - if anyone has any tips on this I would love to hear them!

Wednesday, March 07, 2012

No time to craft?

Hey everyone!!  Been wanting to make some stuff but regular life keeps getting in the way?  Wish you could just set aside some time to create?  You would but the kids would interrupt you every ten minutes?  ("Ten minutes?!" you say, "try every 30 seconds!!") 

Well, I am so excited to be attending a crafting retreat at the end of June!  It is Cheryl's Rockin' Retreat and it is an entire weekend to create, chat, relax, learn or any combination thereof!  It's going to be awesome!  If you can be in the Central Texas area, how about joining us?  
---------------------------------------------------------------------------------------------
I'm even teaching an optional class and so are several other people:  Bits and Pieces: Designing to Use Your Scraps $10
Are all those pretty paper scraps landing in the trash bin?  Use them instead! 
We will make three projects while learning to use the little bits and pieces we normally throw away.  We'll also learn a basic system for organizing scraps so they are easy to save and use. 

Even if you have no idea how to start designing something to use your scraps, this fun class is for you!

Tuesday, March 06, 2012

Handmade Card: Baby Dear

Here is a pretty little baby girl card to share! I made this for a friend who was going to a baby naming celebration - I was so thrilled she was taking it in person rather than mailing it because that meant I could add some thick embellishments!  I love that pink rose - it is so shimmery and pretty but it was languishing in my embellishment stash since it was too thick to mail on a standard card.

 I love an occasional chance to go girly!

Monday, March 05, 2012

Scrapbook Layout: Ninja & Shark

I might be a little off-season with this layout, but I have really been wanting to use these awesome photos taken by our friend Brian Dewey at Halloween!  He's a talented professional photographer and also part of our kids' carpool so it was really exciting when he offered to take Halloween photos of the kids at a neighborhood party.  The images are so different than what I could manage with only the available lighting and my point and shoot flash, that even though I don't normally do a Halloween layout, I wanted to this time. Doesn't Zack's intensity about his costume show through the picture?

I was glad to use it as a chance to capture how their ages and personalities showed in their costume experiences, so it wrote on die-cut Top Notes*, one for each boy.  I wanted a spooky but elegant look without using pre-made Halloween products (since I don't do a lot of Halloween scrapbooking, I didn't want to buy any custom product with spiders or what-have-you.  Also, I just like the less Halloween-specific feel).  I choose black background paper and a dark brown transparent overlay made by Slice/Making Memories (I can't find a link to the transparency sheets so maybe they don't make them anymore).  I intentionally left a strip of the transparency without any backing.  I plan to do another layout to back it with that will coordinate with that spot, but I don't know exactly what- wish me luck! 

The title is done with Thickers in felt - I love how they feel!  You can feel the texture even through a page protector.  Then I added black, die-cut leaves and black, hand-cut branches.  Branches are not hard to hand cut, especially when they are supposed to look bare and spooky!  I got the idea for the row of paper flag/pennant pieces at the bottom of the pictures from somewhere else but I can't find it (not for lack of trying!) so thank you to a nameless inspiration!  To finish it off I stamped the bird from the Stampin' Up! Notably Ornate* set, embossed it and cut it out.  That bird can look pretty or spooky!  Or maybe both!

*If you use the links above my friend and fabulous Stampin' Up demonstrator, Cheryl, will benefit, but so will you since you'll get the preferred pricing by checking out through a demonstrator!