I am sure many people are soooo over the holidays and December, but I'm excited to have finished my December project! I don't care that it's the end January - I'm thrilled to have finished
anything. I mean seriously, how often do I start AND finish something, and all in a row too? (You don't need to answer that.)
This is a December Daily album, as
inspired by Ali Edwards and many others (
here's another extremely pretty one). I showed
my kit a while ago. I finished (notice how I am repeating that word
finish?) it Monday but it took me until today to work up the energy to photograph it! It turned out kind of
large. But hey, it's a whole month!
I do this project a little differently than some - I don't fully make the pages ahead of time and I don't work on it daily. The upside of making a kit instead of pages is that I can choose the papers that I like for each photo and I'm not locked into a certain page size for each one. The downside is that it takes a little longer during December, a month that is already over-full. But, the creative part is what interests me and draws me to the project, so that's better for me. One big mistake I made was not making the cover ahead of time. Somehow I had a hard time getting started on the pages without a cover to draw a color scheme/style from. And making the cover was daunting so I kept putting it off. That led to me starting way late in the month, which I hadn't intended. Next time I want to stick with making the kit rather than finished pages but finish the cover ahead of time.
There are a couple of reasons that it works better for me not to work on this daily. The first is that I print my photos at a photo shop (meaning not at my own house, on my own printer), so I don't have the photo for today at the end of each day. I like the color by sending them out to be printed and Costco is close, cheap and our local Costco's prints are great (I think they calibrate their machines more often than other places). I don't my going by there a few times a week so it isn't a big delay, but it isn't daily. The second reason is that I can't really work in the time to make things every day. My time is organized more by week. I have two or three two-hour blocks that I try to use for creativity. A lot of times I can do a little more here or there, but I just don't like the pressure of trying to work EVERY day. Too much stress! And this is supposed to be fun :) When I realized that my time is structured weekly like this, it was very freeing and inspiring. And fun!
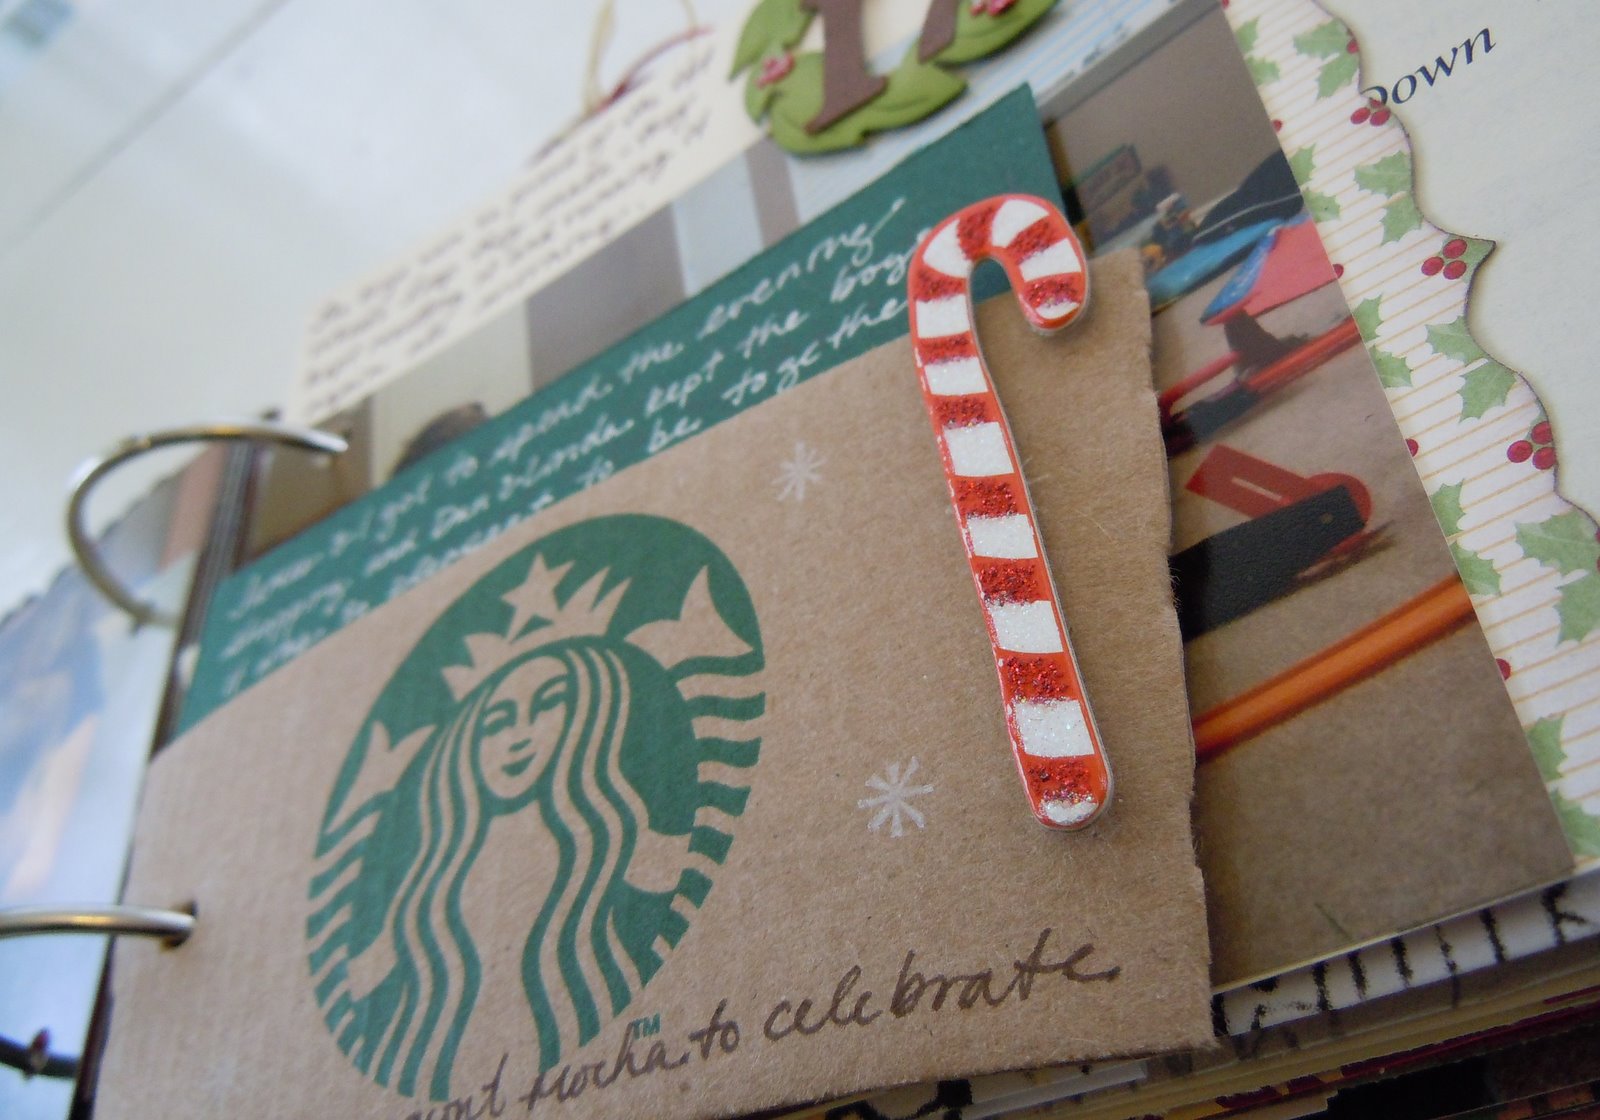
The think I like best about my finished album is the way the pieces peek out the sides and top, and out from behind the other pieces, but without the whole thing feeling too messy. And the fact that it is
finished!
I'll be back with some pages to show soon.